Galvanizing yourself: this is how you do it step by step
Galvanizing yourself – applying a protective zinc layer to metal yourself – is easier than you might think. With the right materials and approach, you can electroplate metal parts at home or in your workshop and protect them from rust.
This guide is intended for both hobbyists and small professional users who want to know how to galvanize themselves. We’ll provide a brief overview of the process, discuss what you need, and share helpful tips to get started with electrolytic galvanizing successfully.
What is electrolytic galvanizing?
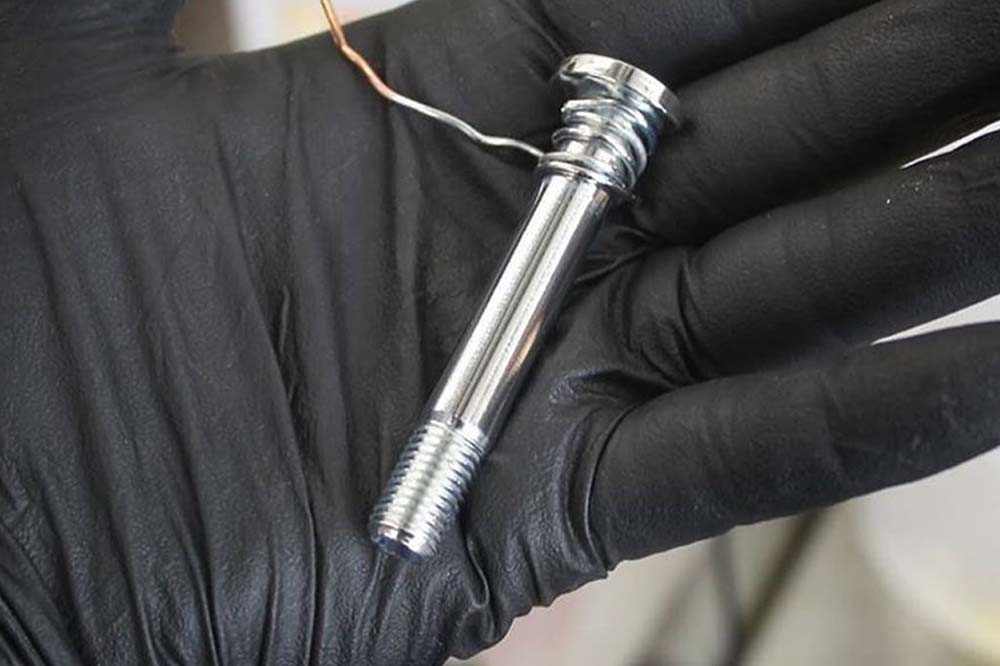
Galvanizing is the process of applying a thin layer of zinc to a metal object to protect it from corrosion (rust). In professional environments, galvanizing is often done by dipping the metal in molten zinc (hot-dip galvanizing). However, galvanizing at home works differently: you use electrolytic galvanizing, also known as electroplating . The object is placed in a container with a special zinc solution (electrolyte) and serves as a cathode (negative pole), while a zinc anode acts as a positive pole. When you run electricity through the bath, zinc ions precipitate on the object and form a protective zinc layer. In this way, you can apply a durable, anti-rust coating to bolts, nuts, tools and other metal parts in your own workshop.
Supplies for countersinking yourself
To successfully galvanize at home, you need a number of materials and tools. Below are the basic necessities at a glance:
- Zinc electrolyte – A special salt solution with zinc ions that serves as a liquid to galvanize the objects. A high-quality electrolyte ensures good adhesion and corrosion resistance. The Verzinkshop V-Brite Z Zinc electrolyte is available in different volumes and comes with V-Brite Z glazing agent for a clear result.
- Zinc anode – A pure zinc anode that hangs in the bath as a positive electrode. This anode releases zinc during the process.
- DC Power Supply – A DC power supply that provides a constant DC current. You prefer to use an adjustable lab power supply for this.
- Plastic galvanizing bath – A plastic container or bucket to put the electrolyte in.
- Cleaning and degreasing agent – Proper degreasing is crucial. For example, use a metal degreaser or acetone/alcohol.
- Protective equipment – Safety comes first. Always wear chemical-resistant gloves and preferably also safety goggles. View our range of personal protection here.
Galvanizing yourself: step-by-step plan in short
Below we give a summary of galvanizing:
- Preparation of the object: Clean and degrease the part. Remove rust and rinse thoroughly.
- Arrangement of the galvanizing bath: Pour the zinc electrolyte into the plastic container. Hang 2 zinc anodes in the bath and connect them to each other. Connect the plus (+) of the power supply to 1 of the anodes.
Before you connect the object, set the power supply: set the voltage (volts) to the maximum setting and turn the current (amps) all the way back to 0. Then turn off the power supply. - Electrolytic galvanizing: Calculate the required amperage (approximately 0.1 ampere per 10 cm² of object surface). Turn on the power supply and slowly increase the ampere setting.
- Rinse and dry: Rinse the galvanized object thoroughly with clean water and let it dry.
Video: self-galvanizing in practice
Tips for a good result when galvanizing yourself
- Ensure a clean surface – Grease, dirt or rust prevent the zinc layer from adhering properly.
- Use the correct amperage – A rule of thumb is +- 0.1 amps per 10 cm² of object surface.
- Passivation for extra protection – Consider passivating the galvanized part for extra protection against corrosion.
Get started yourself!
Have you become enthusiastic about trying it out for yourself? At
If you have any questions or need help choosing products, please feel free to contact us.